Custom fields is feature in Radius CRM which allows you to add field based on your needs. With this ability Radius CRM can fit easily for your company requirements.
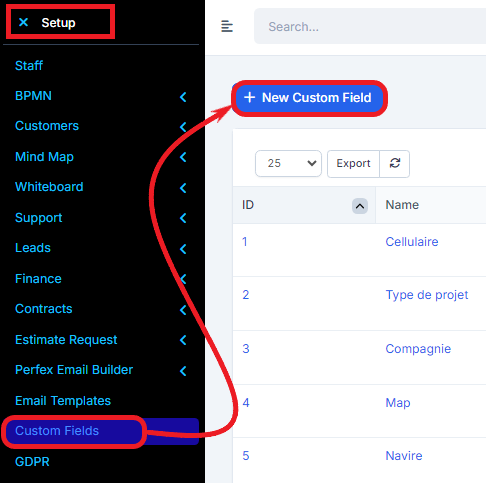
Go to Setup -> Custom Fields
Follow the steps to add new custom field.
- Click New Custom Field
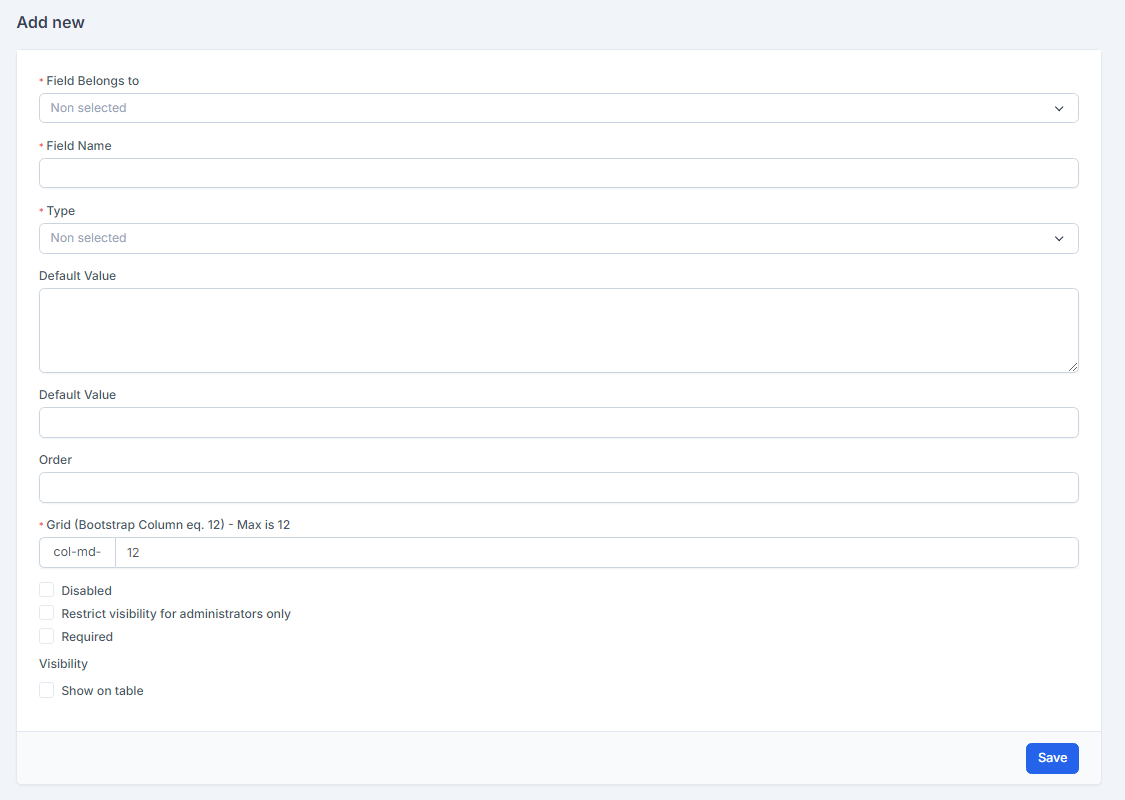
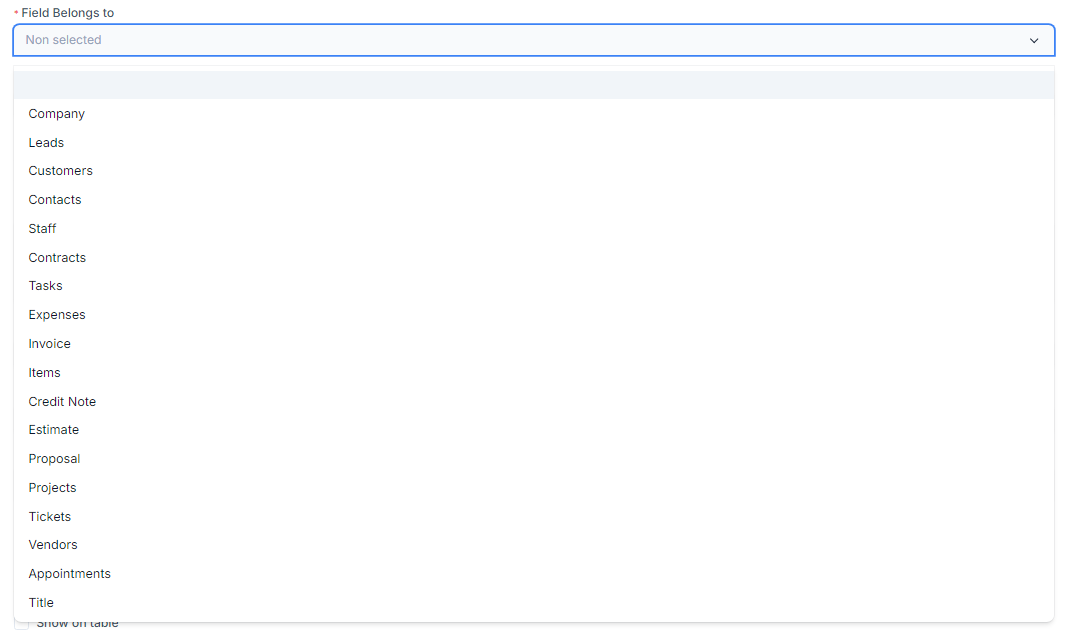
- Select where this field will belong. Only available the options listed in the dropdown (if you are selecting Leads) will be shown also as option when converting to client to merge the fields in the client area. Based on other custom field or existing database field)
- Name – Give the field name.
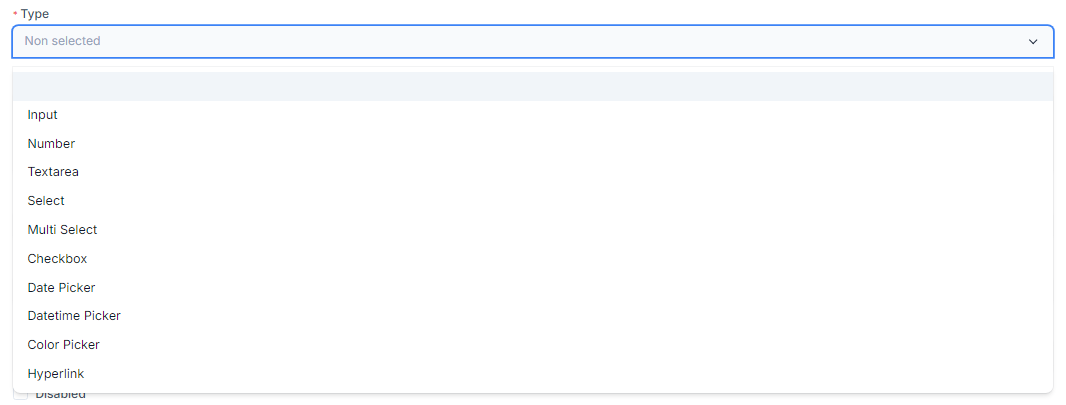
- Select Type
- The Options field is for select and checkboxes fields only. If your new custom field is select or checkbox separate the options with coma ex. orange,juice,banana
- Order (Default will be 0) – This is if you have multiple fields for the same feature and you want to reoder.
- Disabled – If you set the field to disabled wont be shown anywhere. If values found they wont be deleted but if you delete the field all values will be deleted.
- Required – set required or not when editing the field where belogs.
- Restrict visibility for administrators only – If you check this option the visibility/add/edit to this custom field will be only for administrators.
- Visibility – Also you can control the visibility of this field. Do you want to show on table,pdf,customer portal. Note that the visibility is not the same for each field.
NOTE: If you check visibility to customer portal and the field is not related to the customer profile will be also added in the tables while listing. All fields that visibility show on table is checked will be added before the options data. If no options in this table will be added at the end.
- Grid –Bootstrap column eq col-md-6
- Click save and check the field where you have added.