To invoice a project by fixed cost in Radius CRM, you can follow these general steps:
1. Create a Project:
First, create a new entry for the project. This could include details such as project name, description, key dates, and other relevant information.
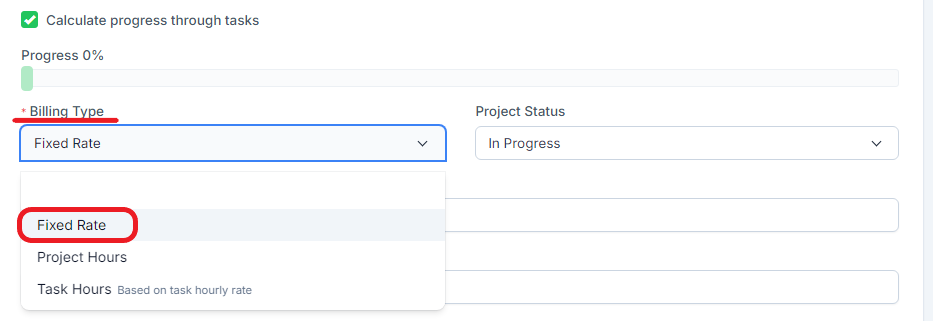
2. Add Fixed rate Details:
Determine the fixed cost of the project. This can be a set amount that you agree with the client for the work to be completed.
3. Add Tasks or Elements:
Break the project down into separate tasks or elements if necessary. For example, if the project has multiple stages or deliverables, create entries for each.
4. Associate the Fixed rate to the Project:
Once you have identified the fixed cost of the project, associate this amount with the project.
5. Configure Billing Terms:
Define the billing conditions for the project. For example, determine whether the fixed cost should be invoiced in full at the end of the project or whether it should be spread across multiple invoices at key stages of the project.
6. Create the Invoice:
When the project is completed or at predefined milestones, generate an invoice for the client. Use the fixed rate amount associated with the project to establish the invoice amount.
7. Monitoring and Reporting:
Use Radius CRM tracking features to keep tabs on the status of invoices and payments associated with this project. Be sure to keep accurate reporting on revenue generated from fixed rate projects.
8. Payment Management:
Once the invoice is sent to the customer, track the payments received in Radius CRM as the system automatically updates invoice statuses based on the payments received.
By configuring Radius CRM in this way, you can effectively manage fixed cost billed projects, ensuring transparent financial management and clear communication with your clients regarding the financial obligations associated with their projects.